Thursday, February 20, 2014

Nang nangitlog ang alamang!

I have an aunt who sells her leche flan. She only use the yolk of the egg. So what happens with all the egg white...she gives them to us. I am not much of a baker because the cost of baking something is more expensive than just buying it from a bakeshop. Besides the fact that my trusted sidekick eats egg white only, I use it in a variety of dishes.

Yesterday morning, I thought of cooking fried rice in the morning. We love to eat fried rice mixed with all sorts of meat in it. It's like 2 in 1. Rice and viand in one dish. I went to my cupboard and inside my fridge. All I saw was a bag of dried "alamang".


I thought of bagoong rice added with the egg white. I cooked the egg white in a non-stick pan. And it looked like a round block of tofu when cooked.


I diced the egg white and then heated a tablespoon of oil in my pan. I toasted the dried alamang. Sauteed some minced garlic and put the cooked rice in it.


 The diced egg white resembles tofu. Actually, I also used this in soups as substitute to tofu.


This fried rice is very tasty and can be eaten on its own or....

Eat it with tapa!


Sunday, February 16, 2014

Spaghetti with Clams in Tomato Sauce

I went to the market on Saturday morning and found out that tomatoes are cheap nowadays costing about P15-P20. I immediately bought a kilo. I decided to make tomato sauce for pasta since I bought some clams the day before.


Clams


Removed from shell


I reduced the liquid from the clams. I reserved this to be combined in the sauce. It will make the sauce very tasty. Cook the pasta al dente while doing this.

Because I am too lazy to make the sauce the harder way, I opt to do a shortcut. I pureed the tomatoes, 2 onions and garlic in the blender. Sauce with clams tastes better with the distinct flavor of garlic in it.


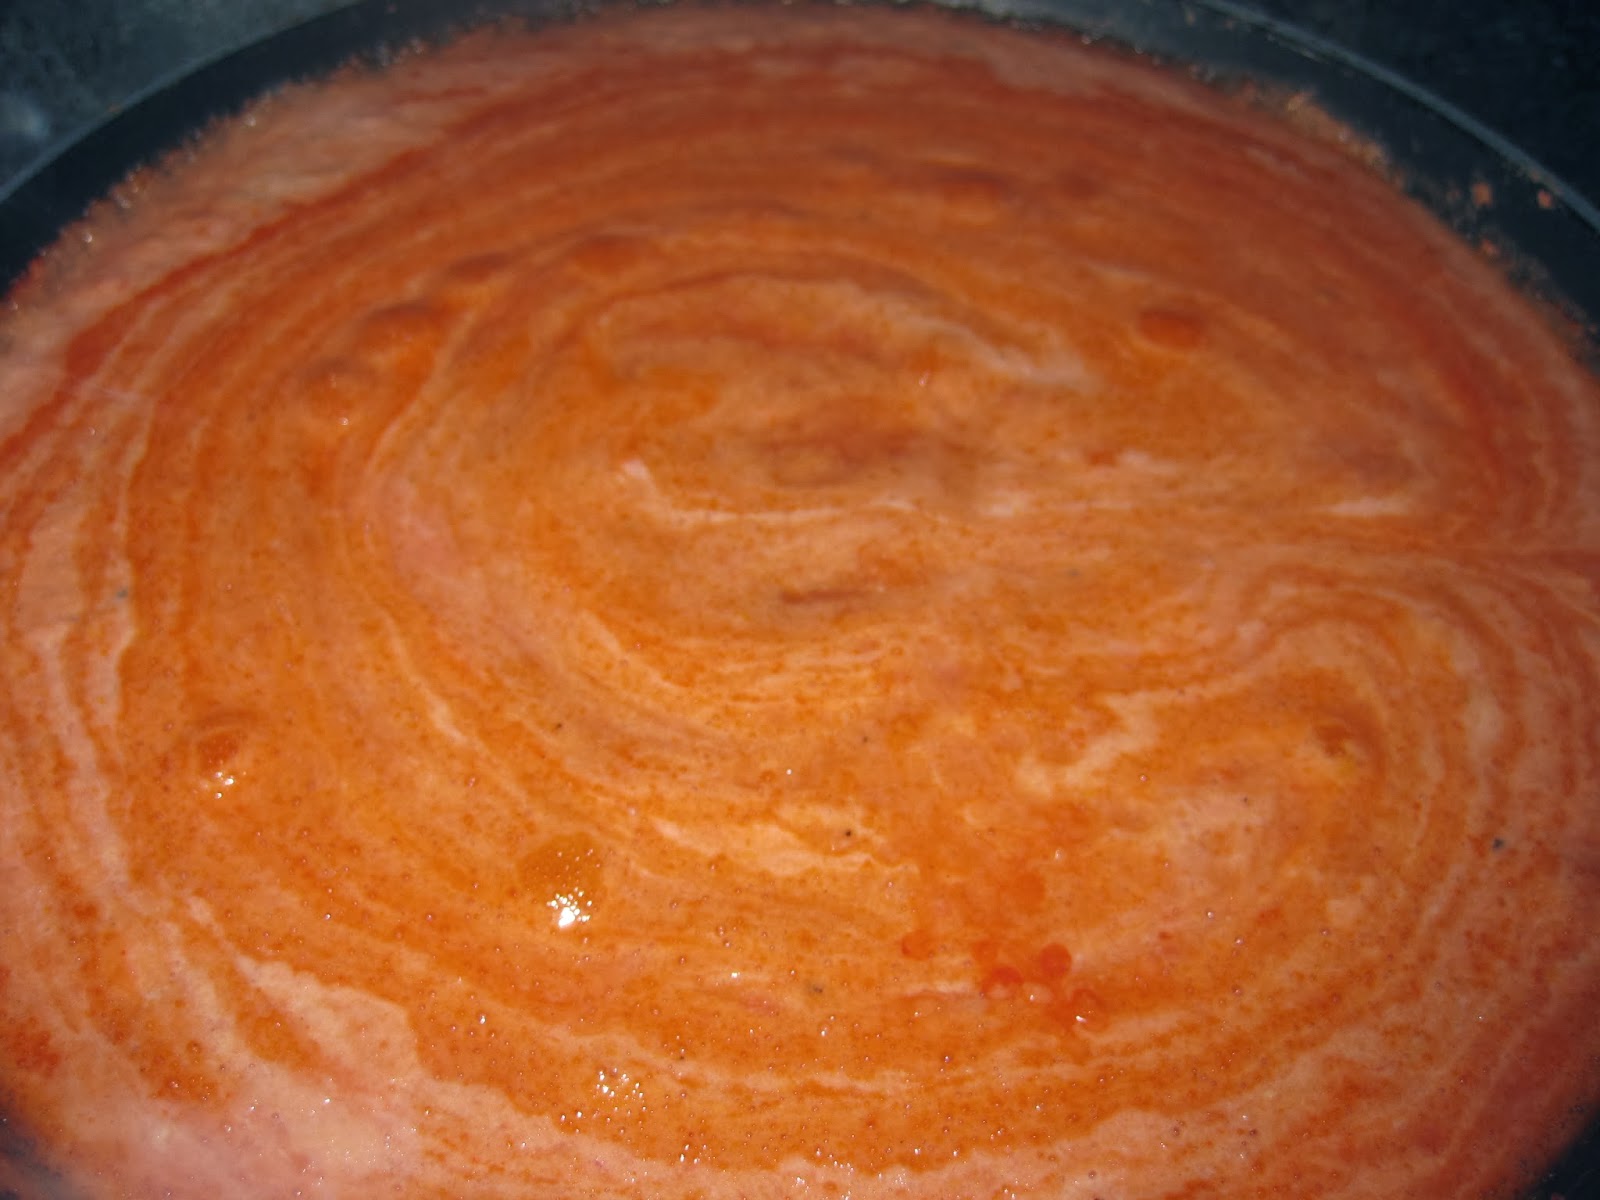
I sauteed some minced garlic in oil and then poured the pureed tomatoes in the pan. The puree will look too pale but as the sauce cooks and thickens, the color will turn bright. Put salt and pepper to taste. I put the pasta and voila! The spaghetti with clams in tomato sauce is made! You can put some clams in shell for added presentation. Top with basil or parmesan for added flavor!


 Bon apetit!

Friday, February 7, 2014

Spanish style bangus

I consider the pressure cooker as one of the best things to have in a kitchen. It can be used in a lot of things especially in shortening the cooking time of food and for canning. One of the things I use it for is cooking spanish-style sardines or bangus. I don't like the ones that can be bought ready-to-eat in the supermarket because I don't like the metallic taste of those available in tin cans.

It can be stored in mason jars or just put it in the fridge. Since I don't have mason jars yet, what I have are jars with plastic lids, definitely goes into the fridge.

Ingredients:
1 kl baby bangus, innards removed and fins cut and sliced into 2-3 cuts
2 pickles, sliced
1 medium carrot, sliced
3 bay leaves
1 tsp whole black pepper
3 cloves garlic, minced
1 sachet of NamNam tomato (added taste and color, substitute tomato sauce)
Chili pepper, if you want it a little spicy
1 Tbsp patis
1 tsp ground pepper
1 cup water
1 Tbsp vinegar
Cooking Oil (Olive, Corn, Canola or Peanut), whatever your preference is

Arrange the slices of fish in the pressure cooker. Put all the ingredients in. Put sufficient oil to nearly cover the fish. Do not mix. Cover the pot and cook in high heat until the pot whistles. Then lower the heat and cook for at least 1 hour. Turn off the heat and wait for the valve to go down indicating that the pot can be safely opened.

Serve hot or not over plain steamed or garlic fried rice. It can also be enjoy with toast and pan de sal!

I am going to purchase a couple of mason jars next time and practice on my canning skills!


The pasta maker

Pasta is perhaps one of the foods I cannot live without. First, because it is so versatile. It can go with any kind of sauce or even without. Second, it is more nutritious than plain rice and fills up the tummy just right. Lastly, it is not boring to eat because it is available in all sorts of shape.Cooking stored brought pasta is very economical and quite easy but not everyone knows the satisfaction of eating freshly prepared pasta.

The pasta maker has been a mainstay in my wishlist for so many years that I almost gave up on hoping to have one. Then the moment I have been dreaming just came. Voila! I have my pasta maker right in front me! And it comes complete with a pasta cutter!

Like the food it was supposed to make, the pasta maker can be used not only for pasta but for a lot of things also. But I have to try it first with pasta itself.  Of course, I have my faithful sidekick and taste tester in tow, we began our task of making pasta by installing our machine. Since we were so excited to begin, we cannot decide where we want to work so we settled for the dining table since it was big enough to make pasta.

We mixed an egg in 1 cup of flour (you can use any kind in my opinion, whatever is accessible to you) and a pinch of salt. Just make a well and put the whole egg, break the yolk and just mix it with a fork. Kneading it a little but not too much. It is ideal to work with a small batch of dough, first, like a cup or two of flour. It is hard to work with a big batch since the dough might dry up a little, making it harder to work on it. If the dough is too wet, just put little flour. If it is too dry, put a little water.

After we knead the dough, we are now ready to run it through the machine. But before using it, we should run a small scrap of dough through it to get rid of dirt, oil and other contaminants. Because we cannot wash the machine, it might turn rusty, we do this instead of wash it. Then discard the piece of dough. We ran the dough through the pasta maker, starting with the thickest setting first. We ran it through the machine until we reached the thickness we want.

We tried to make a bog batch of pasta but it became very long when we reached the thinness we want, it was hard to hold the pasta. The dough we have not processed yet was drying up while waiting for its turn in the machine. So, like what I have said, it is more ideal to prepare it in small batches.

My trusted sidekick

The dough looked like a long sheet of pasta after running it in the machine. We then proceeded in making the shapes we wanted. I decided to make some fettuccine, spaghetti and lasagna. We used the pasta cutter in making the fettuccine and spaghetti.

The pasta maker

The pasta in the photo is too perfect in my opinion. Anyway, The cutter attached to the pasta maker is where the thin sheet of dough is run though to make the spaghetti and fettuccine.

Fresh pasta can also be made with the use of a rolling pin. But I am impatient to do that. I tried it though but the pasta did not look so appetizing or I just don't have want it takes to make it manually. To make pasta with a rolling pin, the dough is rolled thinly. The pasta is constantly sprinkled with flour to make sure that it does not stick to the rolling pin, the table or the dough itself. It is task that needed perseverance.

So, there! That is how fresh pasta is made! We made our choice of sauces to match our freshly made pasta. Next stop, pies!


Thursday, February 6, 2014

Oh my Laing!

My co-worker cooked laing on our Christmas party at year. It was a such a hit that I sworn that I try to cook laing just like hers. I bought a bunch of fresh taro leaves in the market 2 days ago worth P10 and added a bag of dried leaves from the supermarket worth P30. I am not sure why I bought from two different sources but I want the laing to be more of the leaves than stems. I dried the fresh leaves under the sun. If I am correct, the leaves are dried not just to be preserved but also to get rid of the sap that can cause itch.

I cooked a big batch since laing can be stored in the fridge. The longer it sits the better it will taste. Anyone who wants to eat laing can just reheat just the right amount. Laing taste better when the coconut milk is very generous.


Ingredients:
2 packs or 2 bundles dried taro leaves, cut to small pieces
Coconut milk, from 8-10 pieces of coconut
1/4 kl liempo, chopped
1 cup Fresh bagoong or shrimp paste, rince with water once
1 joint of ginger, minced
3 cloves of garlic, minced
1 onion, chopped
1 tsp ground pepper
Patis, to taste
Siling labuyo (optional)

Put the liempo in the pan with a cup of water, boil the meat until the water dries out and the meat is brown. Put the ginger, garlic and onion and saute until fragrant only.

Wash the taro leaves and press firmly to remove excess water. Put the taro leaves and coconut milk in the pan. Then cook until the volume of the coconut milk is reduced and oil starts to appear. But keep stirring to prevent the laing to stick in the bottom of the pan because of the coconut milk. Adjust taste with patis and put sili to add spiciness.


Going to the Pork side!

My son is very fond of Angry birds and Star Wars. That's why when the Angry Birds Star Wars came out, he got hooked! I remembered him say that in the second installment of the game (the first was sort of a homage to the Star Wars Episodes 4-6), the story was inspired by Episodes 1-3, instead of the "dark side", it's "pork side". Those who are familiar with Star Wars should know it.

Anyway, one of the things people disregard when buying pork is which cut suits the dish. People just identify parts of pork as "laman" or meat, "buto-buto" or ribs, "pata" or legs and "ulo" or head. There's more to meat that meets the eyes. We, Filipinos, actually consume the whole pig, minus the bones, from the skin to the innards. I found this chart in the internet. A lot of the cuts here cannot be found in our local market. But if you got to the supermarket and other meatshops, like Monterey, I'm sure they have most of the cuts in the chart below.


1. The shoulder part is where the "kasim" is found. I like this part because it has the right amount of fat making it a little tender than the leg. I use this part for stews (cooked for an hour or so), barbeque on stick (sliced thinly), etc. Examples:
  • Binagoongang baboy
  • Menudo
  • Asado
  • Humba
  • Adobo

2. The loin is what we call "lomo". It is the most tender part of the pork since it is the least used muscle compared to other parts. Examples:
  • Sweet and sour
  • Pork steak
  • Pork chops

3. The belly part is the part with the highest fat content. This is where the more familiar streaky bacon comes from. Examples:
  • Inihaw na liempo
  • Litsong kawali
  • Sinigang na baboy (although some use the kasim)
  • Roasted ribs

4. The leg is also called the pigue. It is the leanest part of the pork but also the toughest. This is the ideal part to be used in ground pork. We can also used this for other recipes but this part needs to be cooked longer to make the meat tender. We can cook this the same way we cook kasim.

5. The legs, head and innards. Some take these for granted! Tsk, tsk, tsk!
  • Pata tim
  • Paksiw na pata
  • Crispy pata
  • Tokwa't baboy
  • Crispy tenga
  • Sisig
  • Lengua
  • Dinuguan
  • Brain omelette (yes, it is edible!)
The next time you buy pork, try to buy the most ideal cut for the dish!

Tuesday, February 4, 2014

To rib or not to rib....

My father was a fan of food from the States because he stayed there for quite sometime. One of the food he cooked for us was roasted ribs. He used to cook ribs in the gas oven for an hour or so making the meat literally fall off the bone. After which, the deed was relegated to me since he was diabetic and pescetarian (one whose diet includes fish and seafood but no other meat - according to Merriam-Webster), he cooked meat without tasting the dish.

We used to marinate the ribs in a concoction of soy sauce and other stuff. and afterwards used it to baste the ribs while cooking. I tried to experiment with dried herbs I bought from the supermarket. We have been doing that since I can remember. Now, I read in books that meat can also be rubbed with herbs and spices, thus the term "dry rub or spice rub". The simplest way there is to just put ground pepper on the meat and voila! Steak au poivre or what is commonly known here as steak ala pobre! Thinking about it, I have so many things coming into my mind on what to put on meat to make it savory when roasted or grilled. I was in my high school when I was thinking about this.

Fast forward through time and when the LPG started to get a lot expensive, I stopped cooking in the oven altogether, even the electric oven. It was a rule in the house that the gas oven is for roasting, etc, and the electric oven is for baking only.

There were times when I crave for ribs and going to Racks is not an option. So, I came up with ways on how to make roasted/grilled ribs without using the oven. The recipe below can also be used in the oven but the cooking over the stove should be omitted.


Before

After


Ingredients:
Rack of pork ribs (1 kl will feed 4-5 people, depending on how hungry the people are)

Marinate:
1/2 cup dark soy sauce (3/4 cup soy sauce)
1/2 cup catsup
1/4 cup worcestershire sauce
1 cup brown sugar
1 cup lime soda
1/4 cup apple cider (if you want a little tang)
Ground pepper (enough to cover the ribs sparingly)
Thyme, rosemary or other herbs you want to put

Mix the soy sauce, catsup, brown sugar, lime soda and apple cider. Marinade the ribs and sprinkle the ground pepper and herbs on the ribs. Marinade at least six hours. Put in the refrigerator if will be cooked within the day or fut in the freezer if will be cooked the next day.

Method 1:
Put the ribs in a pot. Put enough water to cover the ribs. Boil the ribs for 30-45 mins or until a little tender. Take the ribs and grill over hot charcoal just to caramelize and brown surface of ribs. Reduce volume of marinade until slightly thick consistency. This will serve as basting and sauce for the ribs.

Serve immediately.

Method 2:
Put the ribs in a preheated oven. Roast the ribs in 350 degrees Celsius for 30 mins or until crust develops in the ribs. Reduce the heat to 150 degrees Celsius and cook the ribs for 1-2 hours or until the ribs are starting to fall off. Baste the ribs occasionally with the marinade.

Reduce volume of the marinade. This will serve as sauce for the ribs.

Serve, serve, serve!